Part 1: Arrival — 100% Walkthrough
Last updated: 2026-09-22 · 11 min read
Part 1 covers Chapters 1 to 4 and it does two jobs: it teaches you the CRTV, and it quietly starts the Discoveries counter that will decide your ending. The areas are more open than anything later, which makes this the most forgiving place in the game to build a collectible habit — and the last place where backtracking is even theoretically possible. Sweep before you advance.
Chapters: 1–4 · Area: Shorefront District and the Otherworld hotel · Key items: CRTV, flashlight, Zoe's Lanyard, Scalpel, Prescription Dosage Error · Puzzles: the hotel door wheel, the power card panel, the organ transport box, the clinic scales, the reception keypad, the pharmacy locker · Warning: the area closes when you advance the story, so collect before you trigger the next beat.
Chapter 1: Cold Open
You start on the pier as Simon, with no weapons and no context. Walk forward along the front until the tarp blows off the St. Amelia sign — that is the cue that the game has handed you control and the chapter is live.
Immediately to your right is a small building. On its door is the Boat Tour Cancelled Notice — your first Document, and the first entry in your Discoveries count. It is genuinely easy to walk past because nothing points at it, so treat it as a signal about how this game places collectibles: on doors, walls and counters you pass, not on a glowing trail.
Continue to the town square. The Shorefront Map is granted automatically when you pass through the red fog and reach the square, so you do not need to hunt for it.
In the square there is a phone booth. Inspect the "Your Local Services" flyer to the right of the phone. This gives you three numbers at once:
| Number | What it does |
|---|---|
900 | Emergency services |
010 | Operator |
100 | Save yourself — this is the manual save, callable from any phone in the game |
Manual saving in Townfall is done by calling 100 from a phone. You are prompted to do this once early on, and that first required save is permitted. One trophy requires that you never call it again for the rest of that playthrough. If you are chasing it, back out of the save menu from then on and rely on autosaves. If you are not chasing it, save freely — you will need manual saves anyway for the ending branches.
On the bottom edge of the map you will find the Tourist Center number (496 0496). Calling it adds it to your discovered list, which matters because one trophy requires calling every phone number in the game exactly once. Phone numbers must generally be called at the point you learn them and as the character who learns them, so call it now.
North-east of the square is the family clinic. On the wall beside its door is the Shorefront Family Clinic Notice — second Document. The clinic door itself is locked from inside at this point; you will open it later with Zoe's Lanyard.
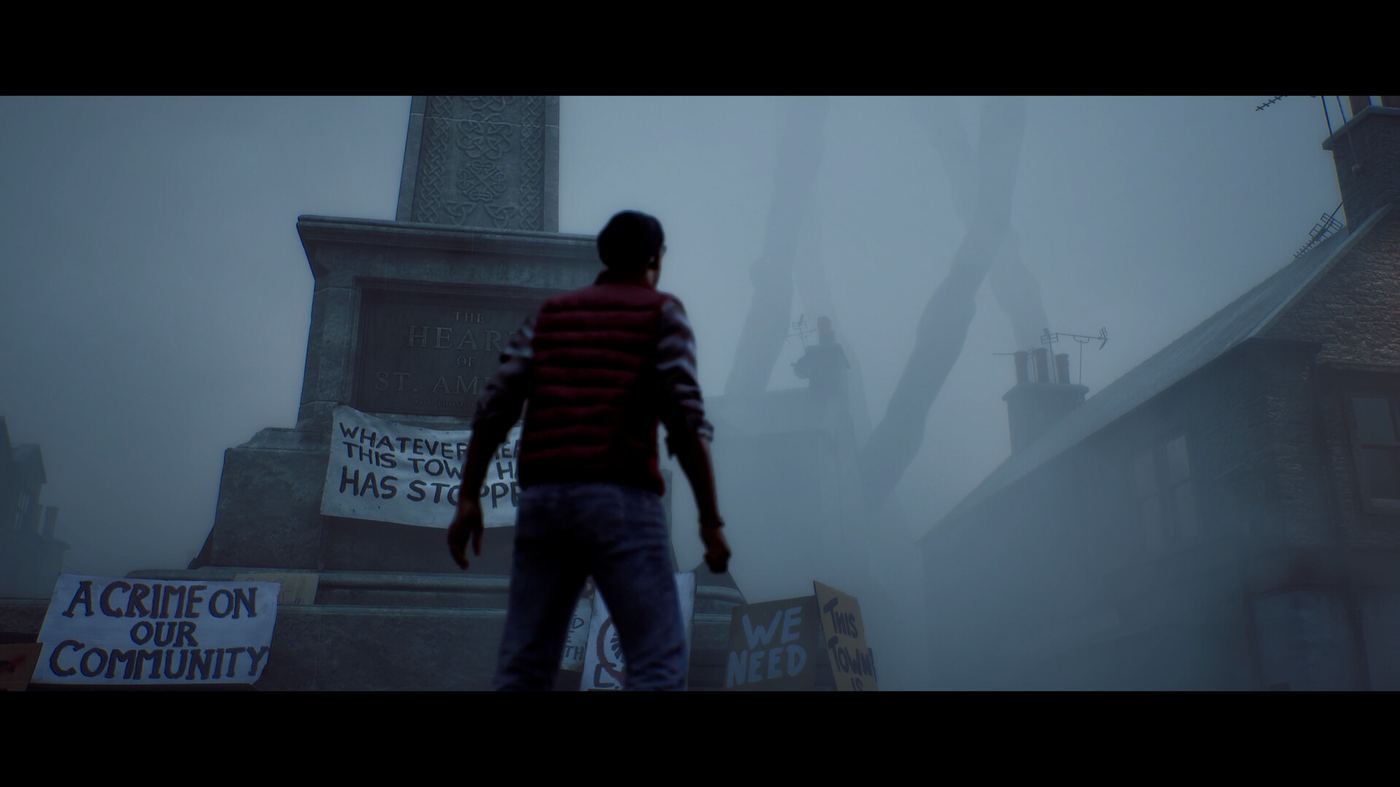
FIG. 01 — Notices on walls and doors are the game's primary Document placement. Part 1 sets that pattern.
Chapter 2: Escape
Advancing into the chapter shifts you to a different version of the town. This is where you get the CRTV, the device the entire game is built around. You do not need to maintain it, but you do need to understand two things about it: it detects enemies through walls when raised, and it must be tuned to specific frequencies to reveal puzzle information and story broadcasts.
On the table immediately after you obtain the CRTV is the Room Service Card (a Clue). This is the first half of the hotel door puzzle below.
You will also pass CRTV channel 60 here, which supplies the third value for the same puzzle if you tune to it. Both sources point at the same answer, so if you have collected the Room Service Card you already have enough to solve it — the broadcast confirms rather than reveals.
Puzzle: The Hotel Door Wheel
Inside the hotel is a door with three rotating wheels. Interact with it and set the values as follows:
| Position | Set to | Where that comes from |
|---|---|---|
| Top | 18 | Room Service Card |
| Middle | January | Room Service Card |
| Bottom | 1996 | Room Service Card, confirmed on CRTV channel 60 |
Behind the door is a bathroom. Collect the Hotel Room Note (Document) and the Room 204 Key from the counter, then use the key on the hotel room door.
Back out in Shorefront District, immediately after you step off the elevator, turn right and go behind the reception desk for the Hotel Reception Notice (Document). Read it to the bottom and you get the Haldane Hotel phone number (496 0244). Call it on the pay phone when you exit the hotel — again, this is a per-run step toward the all-calls trophy, and the number is only reliably callable while you are in the area.
Leaving the hotel awards the Welcome to St. Amelia trophy, which is story-based and cannot be missed.
Chapter 3: A Connection
Chapter 3 takes you into Zoe's house and then back out across the district. This section holds a dense cluster of pickups that are much easier to get now than to remember later.
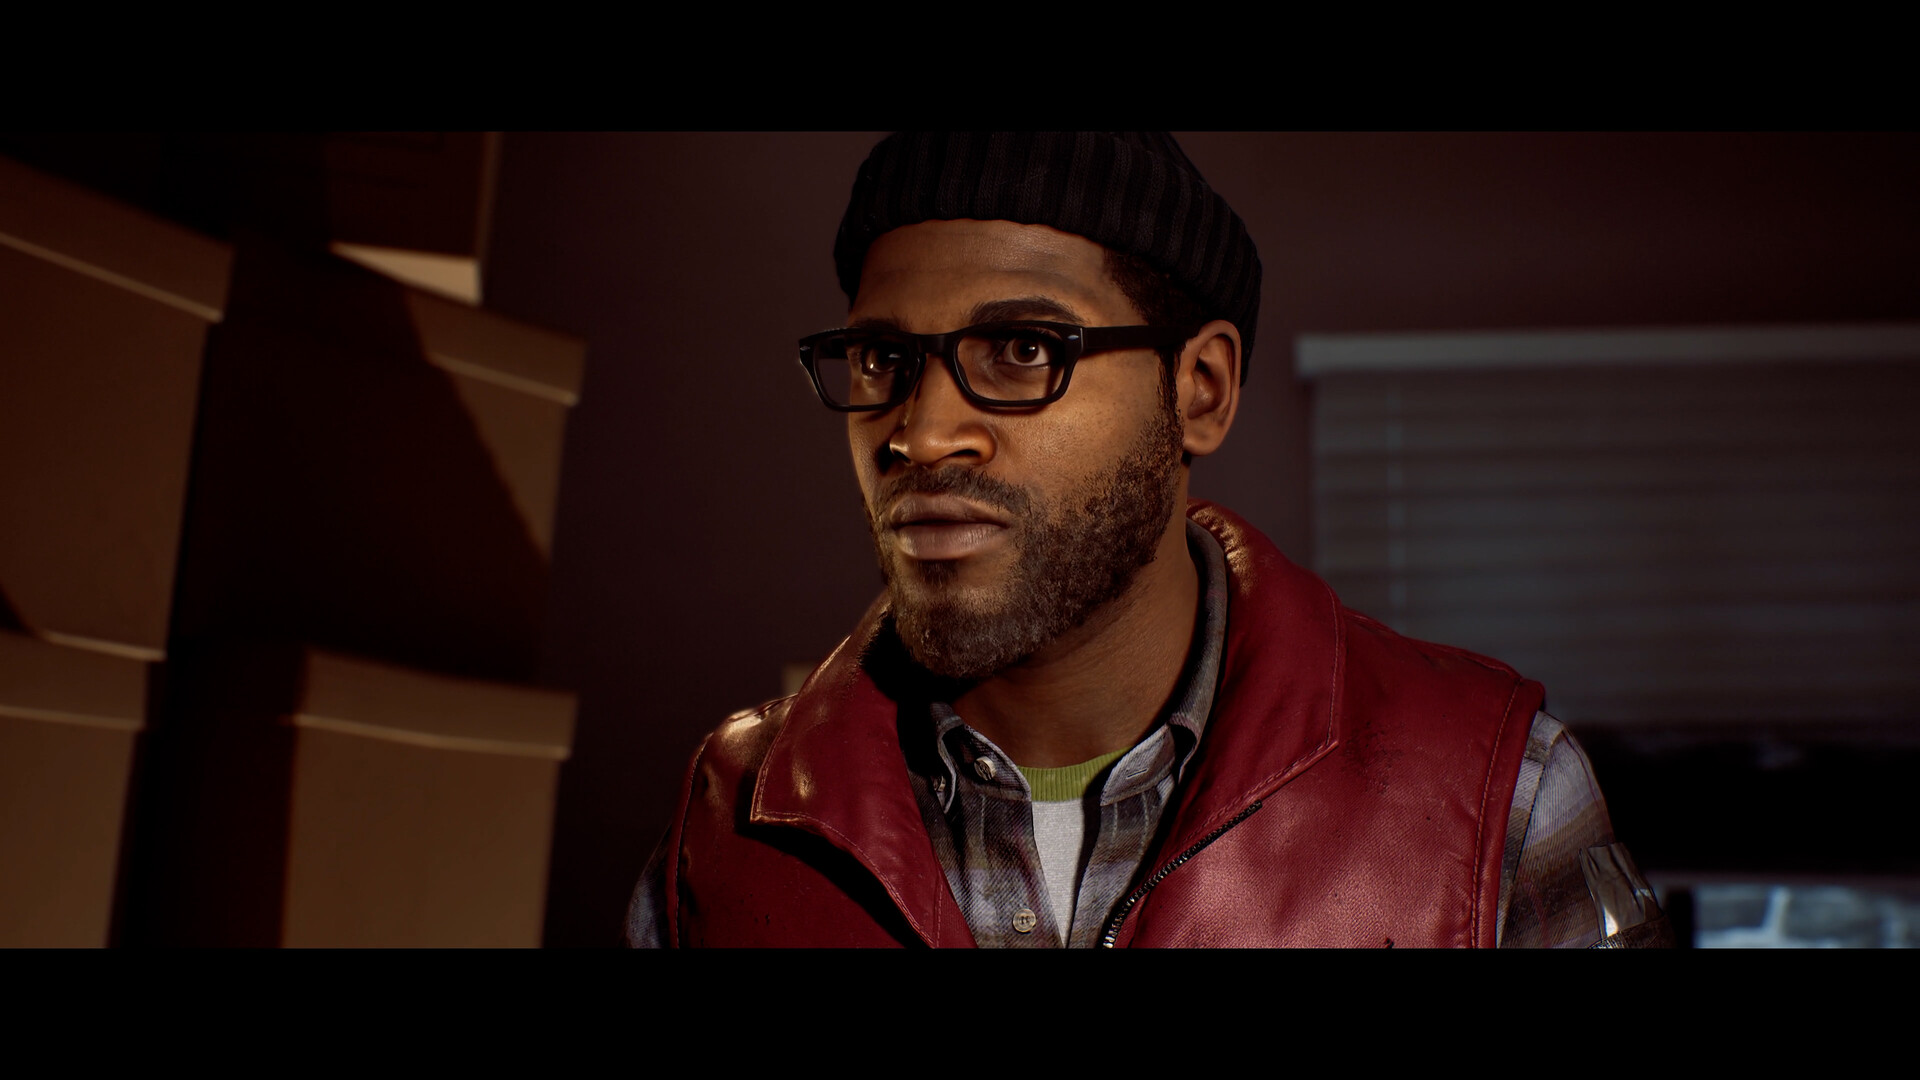
FIG. 02 — Houses in Shorefront District are small but dense. Sweep every room and drawer before leaving.
Zoe's House
Zoe's house sits west of the town square. Work through it in this order:
| Item | Location | Type |
|---|---|---|
| Flashlight (No Batteries) | Drawer to the left of the organ box | Key item |
| Hand Delivered Letter | On the table in the living room | Document |
| AA Batteries | Upstairs, second room on the left, in the small cabinet drawer | Key item |
| Organ Transplant Card | Upstairs, bathroom floor through the room on the right | Clue |
| Power Card Credit Guide | Crouch into the crawlspace beside the stairs — you need the flashlight on to see it | Clue |
Combine the AA Batteries with the Flashlight in your inventory to get a working light. This is required, not optional: the crawlspace and later dark interiors are unreadable without it, and several pickups sit in unlit rooms.
Puzzle: The Power Card Panel
Still in the crawlspace, interact with the panel on the wall:
- Insert the Prepaid Power Card into the slot at the bottom of the display.
- Press button A to cycle the screen until it reads "Card Credit".
- Press button B.
- Flip the main switch at the bottom right.
Power comes on. Now go to the computer, turn it on, and refresh the inbox. Three emails are worth reading and they are counted differently:
- "Your Letter" — Document
- "Please Report In" — Document
- "For Attending…" — middle email, a Clue
Puzzle: The Organ Transport Box
In the kitchen is an organ transport box with two dials: 956 on the left and 133 on the right. Both values come from the emails you just read and the Organ Transplant Card. Opening it grants Zoe's Lanyard automatically.
The Clinic
Return to the family clinic in the town square. Outside the door, interact with the pad on the left and use Zoe's Lanyard to open it.
| Item | Location | Type |
|---|---|---|
| Note on Patient Records | First door on the right (Dr Stevenson), inside the desk drawer | Document |
| Resignation Letter | Second door at the end of the hallway (Z Ellis), on the left of the scales | Clue |
| Scalpel | Same room, green box on the table beside the computer | Equipment |
| Clinic Email: "Where Are You?" | Same room, on the computer | Clue |
| Clinic Email: Reception Answer Phone Message | Same room, on the computer | Clue |
| Nurse's Rounds Form | Reception room, on the counter | Document |
The Scalpel is a tool, not a collectible: it opens the rusty doors with a hatch in the middle, the first of which is the pharmacy. Do not skip it.
Puzzle: The Reception Keypad
Go to the reception door on the left near the entrance and enter 2896 — the number on the post-it note stuck to the computer in Dr Stevenson's office.
Inside reception, use the phone and listen to the answering machine message. This marks the Pharmacy on your map and adds a map location. It is not a collectible but it saves you a search that would otherwise be guesswork.
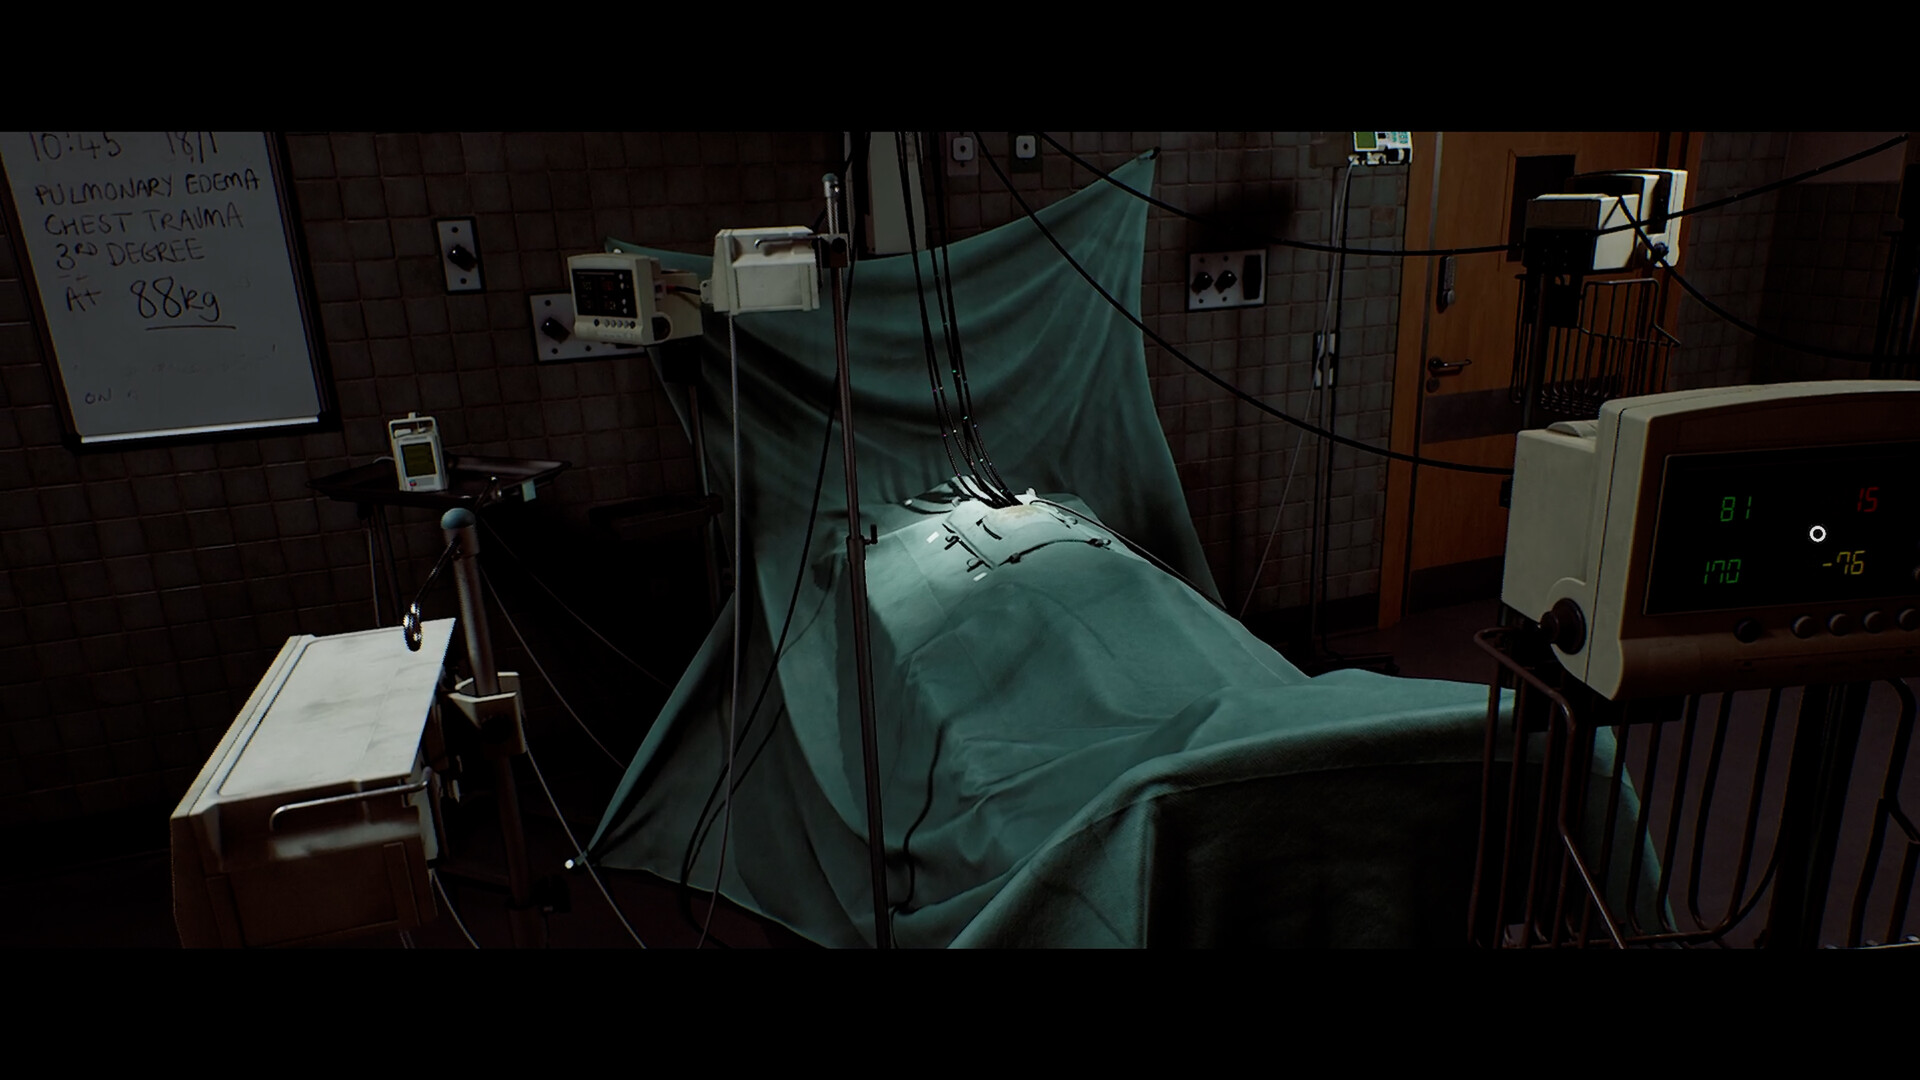
FIG. 03 — The clinic holds four text pickups plus the scalpel. The keypad code is on the office computer, not in a drawer.
Pharmacy and the Rusty Locker
Outside the pharmacy, interact with the door and choose to use the Scalpel. Inside:
- Restock Issues — on the front counter (Document)
- CRTV Channel 30 — in the back room, interact with the radio on the table and tune it in
- Prescription Dosage Error — inside the locker opened by the puzzle below (key item, needed for the clinic scales)
Puzzle: The Pharmacy Locker
In the back room, interact with the rusty locker and enter 6539. The digits are printed on the posters around the pharmacy, and the order you enter them is the order they appear in the CRTV broadcast. This is the first puzzle where the television is mandatory rather than confirming: the posters give you four numbers, but only the broadcast tells you the sequence.
Tuning the CRTV requires you to steady the picture and then align colours into boxes. On PS5 this uses motion controls, which some players find fiddly. You can turn off "Enable CRTV Motion Sensor controls" in the control options and use the sticks instead — the puzzle is unchanged.
Jess's House
Before you move on, Jess's house is worth a full sweep:
| Item | Location | Type |
|---|---|---|
| Jess's Door Note | On the door area, ground floor | Clue |
| Task Assignment | Kitchen counter | Document |
| Lockbox Key | Kitchen drawer | Equipment |
| Jess Legal Advice | Living room table | Document |
| Broken Stethoscope | Bedroom, on the bed | Key item |
The Broken Stethoscope is the other half of the clinic scales puzzle. It sits at the end of a bed on the ground floor in the south-east room — easy to miss if you clear the house top-down.
In the apartment building south of that area, apartment 0/1, use the Lockbox Key on the blue lockbox in the living room to open a Resource Container. That is one of your seven containers for the run.
Puzzle: The Clinic Scales
Return to the clinic and go to the back room in the hallway (Z Ellis). Interact with the scales and place the three items on the trays:
| Tray | Item |
|---|---|
| Left | Broken Stethoscope |
| Middle | Prescription Dosage Error note |
| Right | Zoe's Lanyard |
Solving this awards the Resignation trophy, and it closes out Chapter 4 — Searching for Zoe. You are heading into Part 2.
Part 1 Trophies
| Trophy | How it triggers here | Missable? |
|---|---|---|
| Welcome to St. Amelia | Escape the Otherworld and return to the town square | No — story |
| Resignation | Complete the scale puzzle in the Shorefront Family Clinic | No — required to progress |
| Cold Calling | Progress — you should have called three numbers by the end of Part 1 | Yes — across the whole game |
| Reject The Help | Keep running — do not call 100 again after the first required save | Yes — silent failure |
Part 1 Checklist
Before you leave Part 1, confirm you have these. Anything missing is now permanently behind you unless you reload a save.
| # | Item | Type |
|---|---|---|
| 1 | Boat Tour Cancelled Notice | Document |
| 2 | Shorefront Map | Auto |
| 3 | Shorefront Family Clinic Notice | Document |
| 4 | Room Service Card | Clue |
| 5 | Hotel Room Note | Document |
| 6 | Hotel Reception Notice | Document |
| 7 | Hand Delivered Letter | Document |
| 8 | Organ Transplant Card | Clue |
| 9 | Power Card Credit Guide | Clue |
| 10 | Zoe's Email: Your Letter | Document |
| 11 | Zoe's Email: Please Report In | Document |
| 12 | Zoe's Email: For Attending… | Clue |
| 13 | Note on Patient Records | Document |
| 14 | Resignation Letter | Clue |
| 15 | Clinic Email: Where Are You? | Clue |
| 16 | Clinic Email: Reception Answer Phone | Clue |
| 17 | Nurse's Rounds Form | Document |
| 18 | Restock Issues | Document |
| 19 | Jess's Door Note | Clue |
| 20 | Task Assignment | Document |
| 21 | Jess Legal Advice | Document |
Also: CRTV channel 30 · 1 resource container · 3 phone numbers · flashlight + batteries combined