Part 2: Zoe — 100% Walkthrough
Last updated: 2026-09-22 · 10 min read
Part 2 covers Chapters 5 and 6 and hands you a second playable character. Zoe has her own equipment and her own section of the story, and she brings two things that are easy to squander: a chapter in which you must not heal for a trophy, and the axe. Read the warning below before you start swinging or drinking anything.
Chapters: 5–6 · Playable as: Zoe (and Simon in the transitions) · Key items: Pager, Community Garden Key, Mr. Stewart's House Key, the Axe · Puzzles: the garden shed lock, the phone booth sequence · Trophy warning: use no healing items at all while playing as Zoe.
One trophy requires completing Zoe's section without using a single healing item. This fails silently: nothing tells you that you broke it, and the trophy simply does not appear. On lower difficulties the section is short enough to survive without healing, so treat this as a rule for the whole of Chapter 5 rather than something to remember halfway through.
Chapter 5: Zoe Rounds
You take control of Zoe at the clinic. The Pager is granted automatically as the chapter starts — it is Zoe's counterpart to the CRTV, and it tracks enemies in the same way rather than acting as a story device.
Before leaving the clinic area, note two things about how Zoe plays differently: she carries the axe through both of her sections once you pick it up, and her healing window restriction means the efficient approach is to avoid fights entirely rather than trade damage and patch up. Enemies in this section can largely be walked around or waited out.
Equipment: The Axe
Just before entering Mr. Stewart's house, look for the shed in the adjacent backyard. The Axe is leaning against its door. Picking it up here means Zoe has a melee weapon for both of her chapters, which is worth the small detour because it makes the Medical Centre approach considerably easier.
FIG. 01 — The axe sits in a backyard shed just before Mr. Stewart's house. It carries through the rest of Zoe's section.
The Community Gardens
The gardens sit in Shorefront District south. The shed here is locked, and the code is derived from something in plain sight rather than from a document.
Puzzle: The Garden Shed Lock
Interact with the lock on the shed and enter 1993 — the year on the flower bed bearing the name Jane Chalmers. If you are stuck, look at the beds themselves; each commemorates someone, and one of them carries a year.
Inside the shed:
| Item | Location | Type |
|---|---|---|
| Jane Chalmer's Obituary | Middle shelf | Document |
| Community Garden Key | On a shelf to the right | Key item |
Use the Community Garden Key on the gate in the gardens to open the way through.
Mr. Stewart's House
Shorefront District north. This house holds a document, a phone number and — more usefully — the first radios you can use to distract enemies.
| Item | Location | Type |
|---|---|---|
| St. Amelia Standard | On the table in the living room | Document |
| 496 0103 — Zoe Ellis | Inspect the phone, then open the folder to the right of the answering machine | Phone number |
| Mr. Stewart's House Key | Obtained through the house's progression | Key item |
Use the house key on the back door where you entered to exit. There are two radios in this house, and both count toward a cumulative distraction trophy that carries across playthroughs — turn them on.
From this point on you can pick up bottles and bricks and throw them to lure enemies. Note the distinction: one trophy counts radios turned on, another counts bottles thrown, and bricks do not appear to count toward the bottle trophy even though they distract just as well. Both counters are cumulative across playthroughs, so start early.
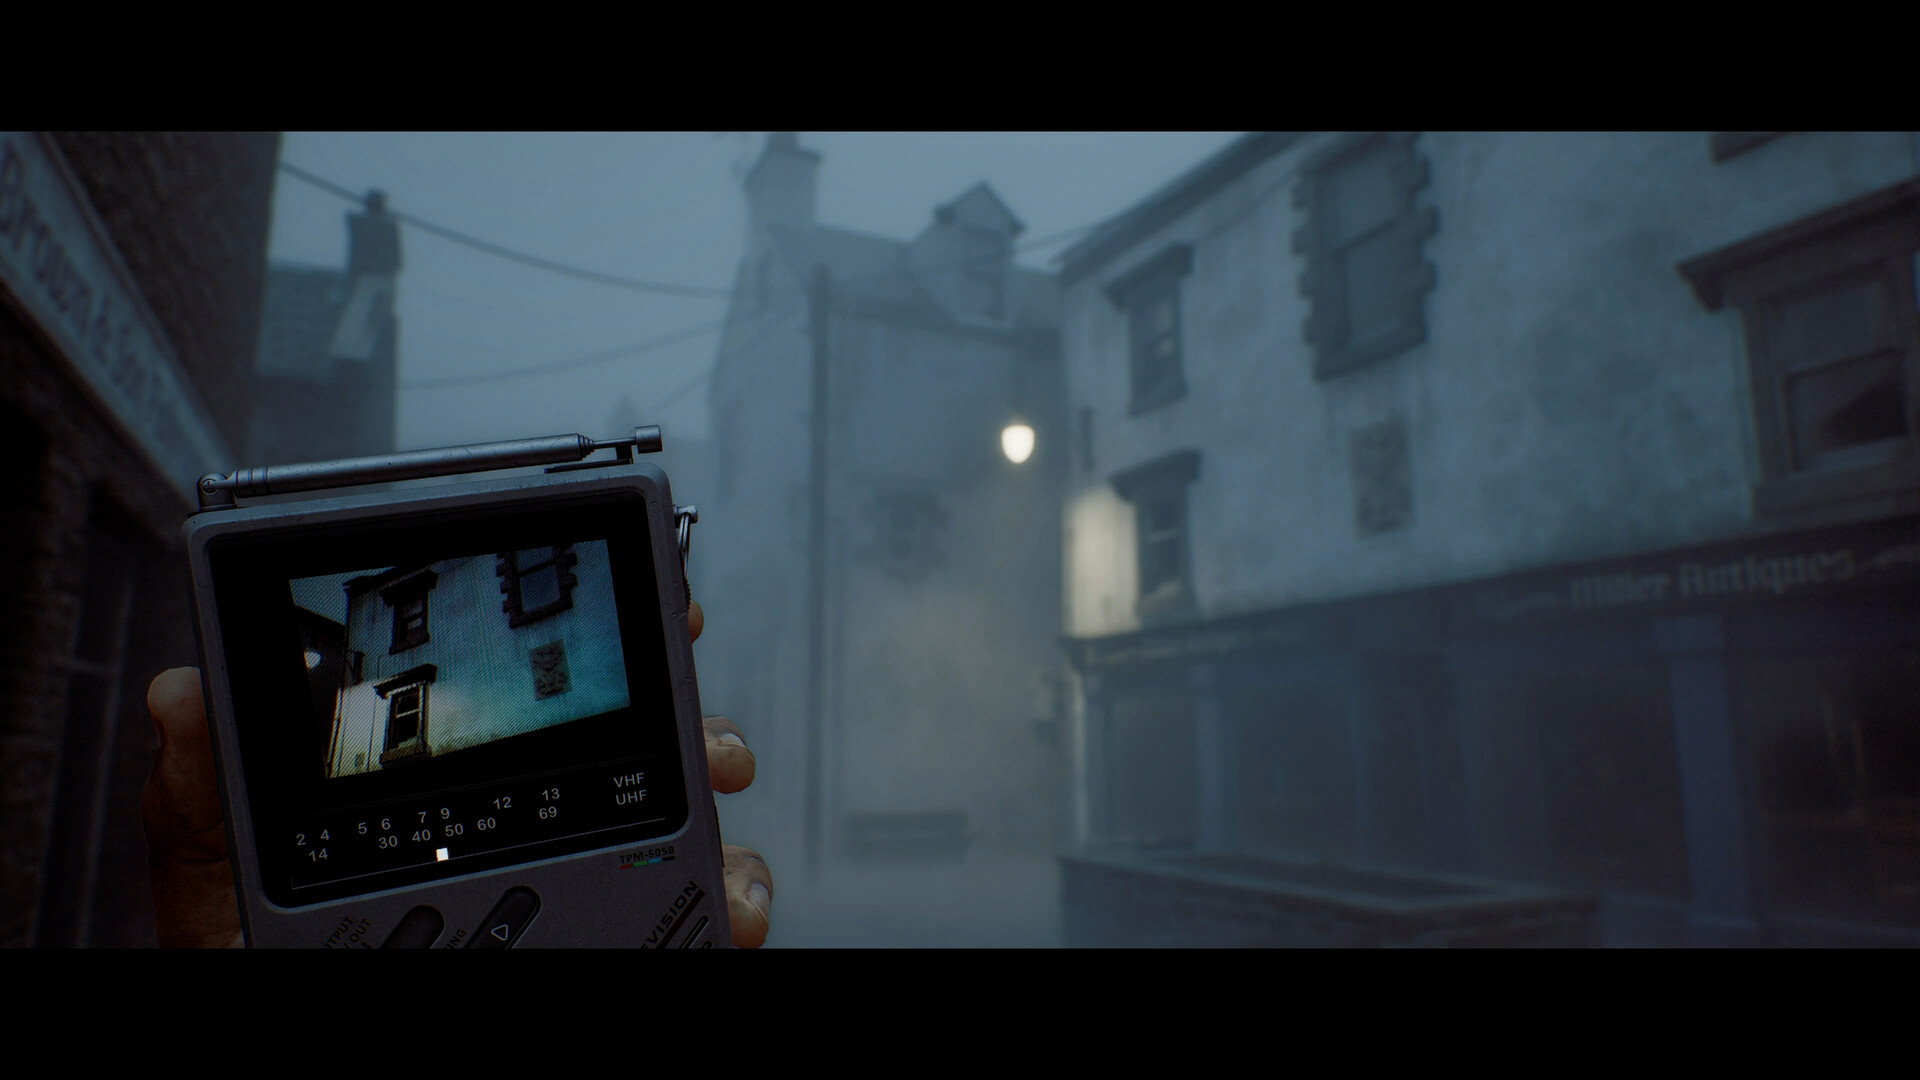
FIG. 03 — Signals are tuned deliberately. If a code is not in any document, check the CRTV.
Puzzle: The Phone Booth Sequence
Down the street from the Medical Centre there is a phone booth. Outside the Medical Centre itself, inspect the paper on the window of the security booth to get the Medical Security Note, which gives you the number 496 0556.
Call it from the booth, then work through the menu in this order:
- Press
3when prompted - Then
2 - Then
2again - Then
1
This is one of the few puzzles in the game where the input is a menu path rather than a fixed code, and the note alone does not spell it out. If the call fails, re-read the security note — the sequence is derived from it rather than guessed.
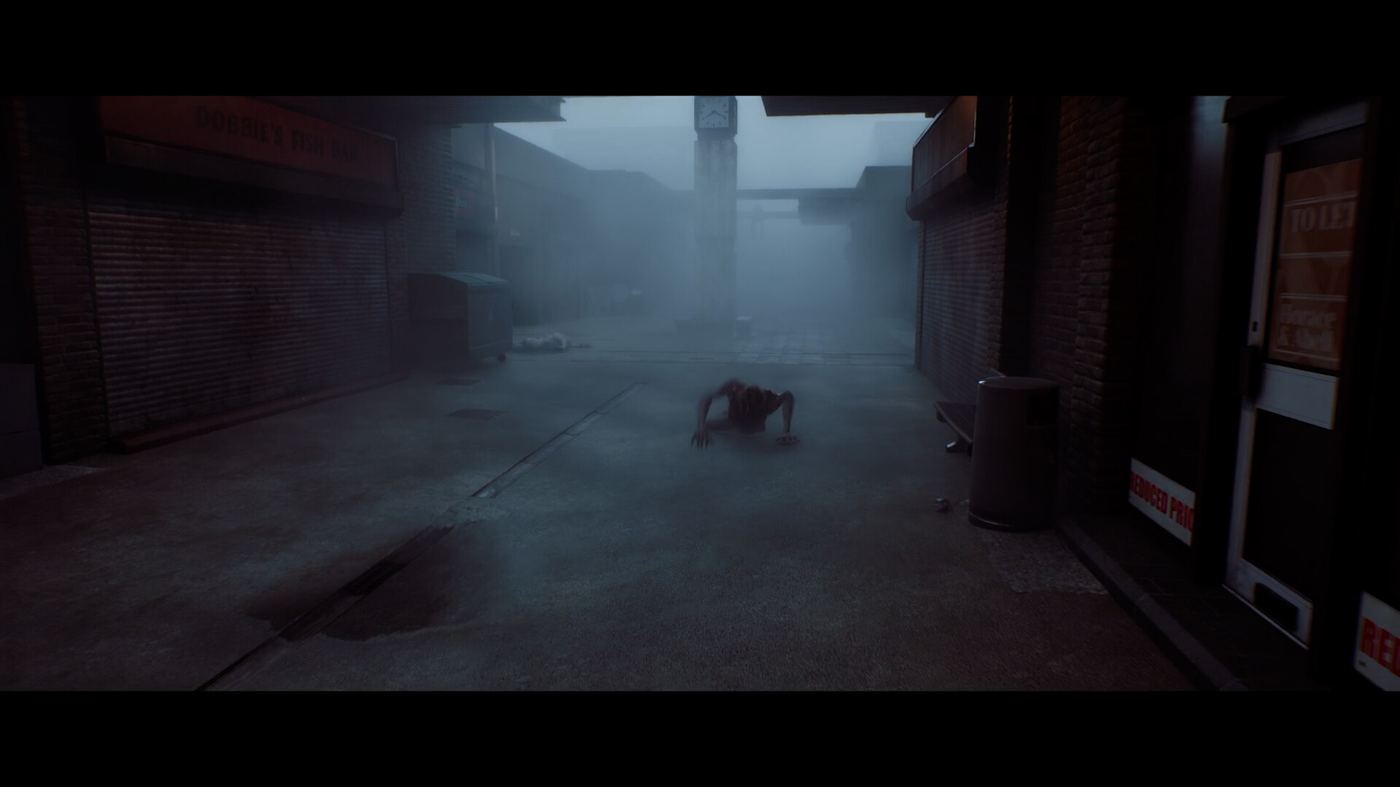
FIG. 02 — Shorefront District north. The phone booth and the Medical Centre security booth are within sight of each other.
Chapter 6: Journey to Medical
The route from Shorefront District north to the Medical Centre is a traversal chapter rather than a puzzle chapter. It is also where the game introduces car alarms: hitting any car with a melee weapon sets off its alarm, which distracts nearby enemies exactly like a thrown bottle.
There is a trophy for deliberately setting off a car alarm with an enemy nearby. While making your way back toward the clinic, you will automatically trigger one car alarm as part of the scripted route. That does not award the trophy on its own — the trigger requires an enemy to actually be distracted by it. Set one off deliberately on a street where something is patrolling.
The Medical Centre Approach
Outside the Medical Centre:
- In the parking lot, look to the right for a Document on the back-left side.
- There is a garage door with a button beside it — activating it opens the route toward the gates.
- The security booth paper, mentioned above, is what gives you the phone number for the booth sequence.
Entering the Medical Centre as Zoe completes Chapter 5's arc and awards the A Long Night Ahead trophy. Immediately after, the game triggers the Otherworld shift that opens Part 3.
Before you trigger that transition, make sure you have swept everything in Shorefront District north. This is the last point at which the area is reachable.
FIG. 04 — Avoiding fights entirely is how you protect Zoe's no-heal trophy.
Part 2 Trophies
| Trophy | How it triggers here | Missable? |
|---|---|---|
| A Long Night Ahead | Enter the Medical Centre as Zoe, at the end of Chapter 5 | No — story |
| Save It For The Patients | Complete Zoe's chapter without using any healing item | Yes — silent failure |
| Static Distractions | Distract 10 enemies with radios (cumulative across playthroughs) | Yes — cumulative |
| Lured Off Track | Distract 20 enemies with thrown bottles (cumulative; bricks do not count) | Yes — cumulative |
| Alarmingly Effective | Set off a car alarm with an enemy nearby | Yes — needs a deliberate setup |
Three of the five are cumulative counters, which is the good news: none of them has to be finished in Part 2, and all of them carry into your next playthrough. Start them here rather than planning a dedicated run later.
Part 2 Checklist
| # | Item | Type |
|---|---|---|
| 1 | Jane Chalmer's Obituary | Document |
| 2 | St. Amelia Standard | Document |
| 3 | Medical Security Note | Document |
| 4 | 496 0103 — Zoe Ellis | Phone number |
| 5 | 496 0556 — phone booth | Phone number (via booth sequence) |
Also: the Axe (shed before Mr. Stewart's house) · Community Garden Key · 2 radios · no healing used